How to make soap at home:
- Gather your ingredients
- Mix the caustic soda flakes
- Prepare the mold
- Measure out the essential oils
- Melt and mix the oils
- Blend and pour
- Cut and cure
Many of the products you enjoy every day, like cosmetics, body scrubs, detergent, shampoo, and the like can be made right at home! You might be surprised with how doable some items can be — especially soap.
Soapmaking might pique your curiosity, especially if your favorite brands are expensive or hard to come by. Though, creating homemade soap is a serious endeavor that requires more than just a few kitchen tools and some basic skills.
Interested in giving it a try? Read our guide on how to make soap at home and get started.
Gather Your Ingredients
First, you should get some ingredients and tools. Here’s what to prepare:
Ingredients:
- 20 ounces of coconut oil
- 10 ounces of olive oil
- 9 ounces of distilled water
- 4.78 ounces of Caustic Soda Flakes (also known as Lye and Sodium Hydroxide).
- About 20 to 40 drops of your choice of essential oil.
- Colorants (optional)
- Dried herbs or flowers (optional)
Tools:
- Large heat-safe vessel (ex: a soup pot).
- Small heat-safe vessel (ex: a saucepan).
- Heat-safe vessel with a handle (ex: metal pitcher).
- Measuring cups or a small bowl.
- Silicone spatula, or a similar stirring utensil.
- Thermometer, preferably instant-read and digital.
- Immersion blender.
- Weighing scale, preferably one that can measure in grams and ounces.
- Soap mold or a 9-inch by 13-inch baking pan.
- Plastic wrap (if using a baking pan or similar for mold).
- Waxed or parchment paper.
- Measuring teaspoons (if using essential oils).
- An old towel or blanket.
- A sharp knife.
- Rubber gloves.
- Safety goggles.
We recommend avoiding using any aluminum or tin containers to handle caustic soda flakes because it can cause an unsafe chemical reaction. And, any of the cooking utensils and tools you use here should not be reused for cooking afterward — especially if they touch the caustic soda flakes.
Mix The Caustic Soda Flakes

Although making soap at home is safe to do, you should always practice caution when handling caustic soda flakes or lye. If handled incorrectly, it can burn your skin and eyes. So, remember to put on your gloves and safety goggles when handling it, and do your soap making in a well-ventilated area. If you have a garage, patio, driveway, or another open-air area to do this in, we recommend going there.
Use your scale and measuring cup to carefully weigh 4.78 ounces or 135.51 grams of caustic soda flakes, and set them aside. Then, weigh 9 ounces of distilled water into your heat-safe vessel with a handle.
Now, carefully pour the caustic soda flakes into the container with water, and stir just long enough till fully dissolved. This creates a chemical reaction that heats up the water and creates fumes, so stir quickly and avoid breathing it in.
Never add your water to the caustic soda flakes — it can cause it to spatter and can even lead to an explosion and injury.
Your mixture needs to cool down, so use your thermometer and wait for it to cool below 38° C. This may take anywhere between 30 to 90 minutes to cool.
Prepare The Mold
While waiting for your mixture to cool, prepare your soap mold. If you’re using a baking pan or something similar, then line the inside with waxed or parchment paper. You can use masking tape to hold the paper in place. If using a soap mold or silicone mold, then you can skip this step.
Measure Out The Essential Oils

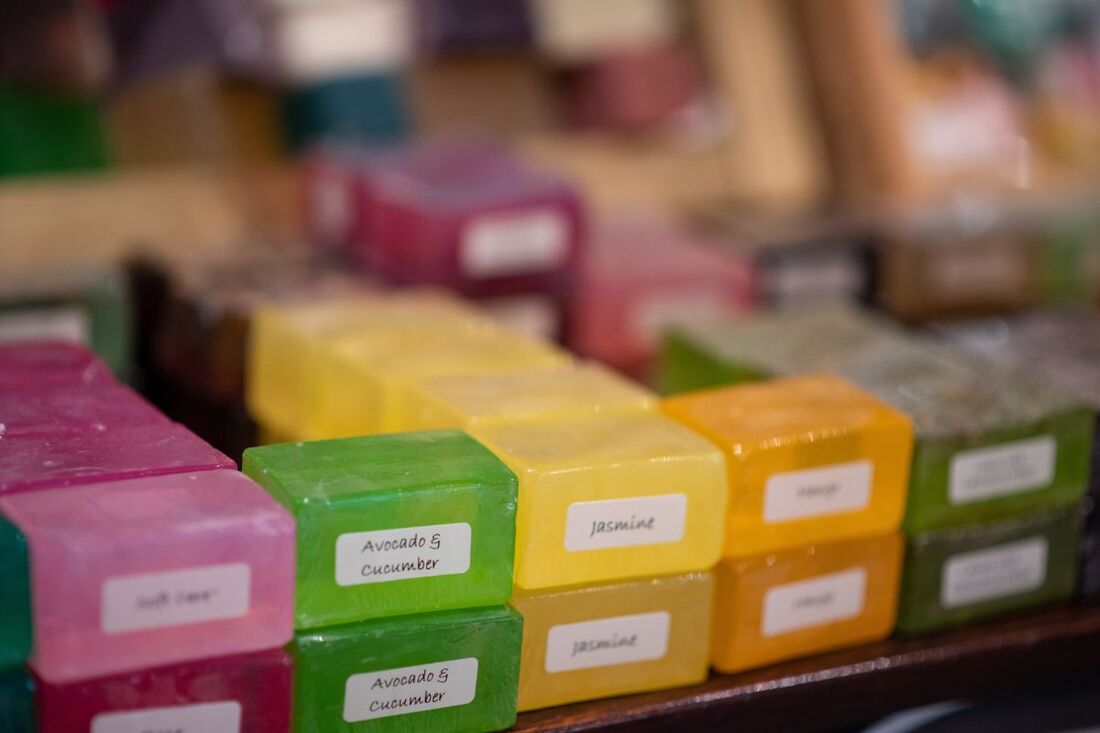
You can also take this time to measure out the essential oils you’ll be using. There are lots of options you can use, such as
lemon and jasmine, or
lavender and rose — it’s completely up to how you want your soap to turn out.
The number of drops will depend on the oil’s quality and how strong you want the scent to be. Generally, 20 drops are enough for a light scent, while 40 produces a stronger scent.
Finding the right amount for you may take some trial and error. We also recommend sticking with one oil and colorant at a time until you find what works for you.
Place your essential oils and colorants into an extra measuring cup to mix them in much easier later on.
Melt And Mix The Oils
You can now prepare the blend of oils you need to add to your caustic soda flakes. Do not mix in your essential oils here, only the coconut and olive oil. Since you’re using coconut oil that’s solid at room temperature, you’ll need to melt it so it can be mixed.
Heat your coconut oil in a small saucepan (you can also heat it in a microwave if you prefer). When liquid, place your large heat-safe vessel on the scale and weigh each oil into it for precision. Stir everything together and then check the temperature with your thermometer.
The oil mixture needs to be around 26 and 38° C. If it’s higher than this range, you can set it aside to cool down for a few minutes.
Blend And Pour
 When both your caustic soda flake and oil mixtures are at the right temperatures (around 26 and 38° C), you’re ready to blend both mixtures.
Put your gloves and goggles back on, and carefully pour the caustic soda flake mixture into your pot of oil. Do this on a heat-safe surface. These mixtures will quickly react with each other, so they should begin to turn cloudy. Fully blend the two mixtures with your immersion blender, and after about 3 to 5 minutes you’ll start to create a thicker and more opaque liquid.
You’re aiming for the consistency of a runny pudding, so stop every minute or so and check the mixture. You can lift the blender out and let some drops fall across the top of the mixture. If it leaves a visible pattern, called “trace,” then your soap is ready for your essential oils. Blend in your essential oils for about a minute to ensure everything is well incorporated.
Carefully pour your mixture into your soap mold. If your mold has no lid, cover it with some plastic wrap. Be sure to keep your mold level and completely covered. Leave this in a well-ventilated area away from extreme heat or cold for at least 24 hours.
Cut And Cure
The method we’re using is called the cold process, so we don’t use heat to speed up the “saponification”. Instead, we just allow our soap mixture to sit in the mold and cure.After 24 hours have passed, your soap is ready to be removed from the mold. You may need a knife to pry your soap from the mold, especially if you’ve used a baking pan or similar.
Once you have your soap out, use the knife to cut the loaf into bars. If you’re having trouble cutting without crumbling the sides, you can use alternative cutting tools. Some soapmakers use guitar strings or sharp butcher knives to cut through cleanly. You can also try scoring the top of the soap with a ruler to make cutting a bit easier.
Once your soap is all cut up, the bars need to cure for about 4 to 6 weeks. This will allow the water left in the soap to fully evaporate, creating a harder and milder soap. Leave your soap bars in a paper bag or baking rack in the same location you left them to harden in. Make sure to turn the bars over once or twice while waiting to fully cure to ensure all sides are equally exposed to air.
Key Takeaway
With our guide on how to make soap at home, you’re ready to start making your own! These homemade bars of soap are excellent to use daily, and can even make for excellent gifts for friends and family!
Looking for ingredients to start soap making? Check out Oktakem’s Shopee store — we carry all the chemicals and materials you need to make soap at home!